Uploading files and activating plugin:
Plugin zip file contains one file XuiOne.php, upload this to application/default/plugins/misc directory.
Login to aMember admin and navigate to Configuration->Add-ons.
Search for for xui and click Activate.
Checking status of plugin:
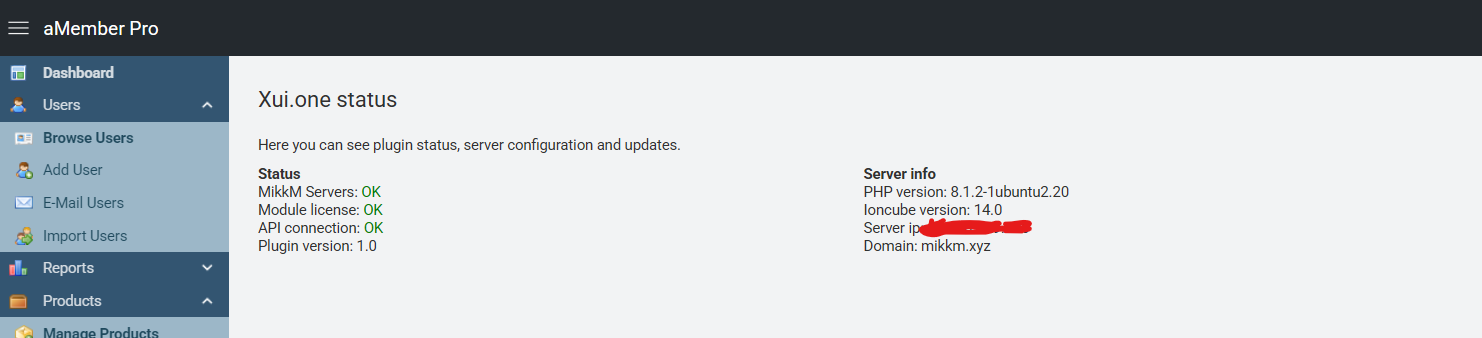
Navigate to Xui.one->Status.
Make sure license is ok and your system meets minimum requirements needed. API connection can be NOT OK for now.
Configuring plugin:
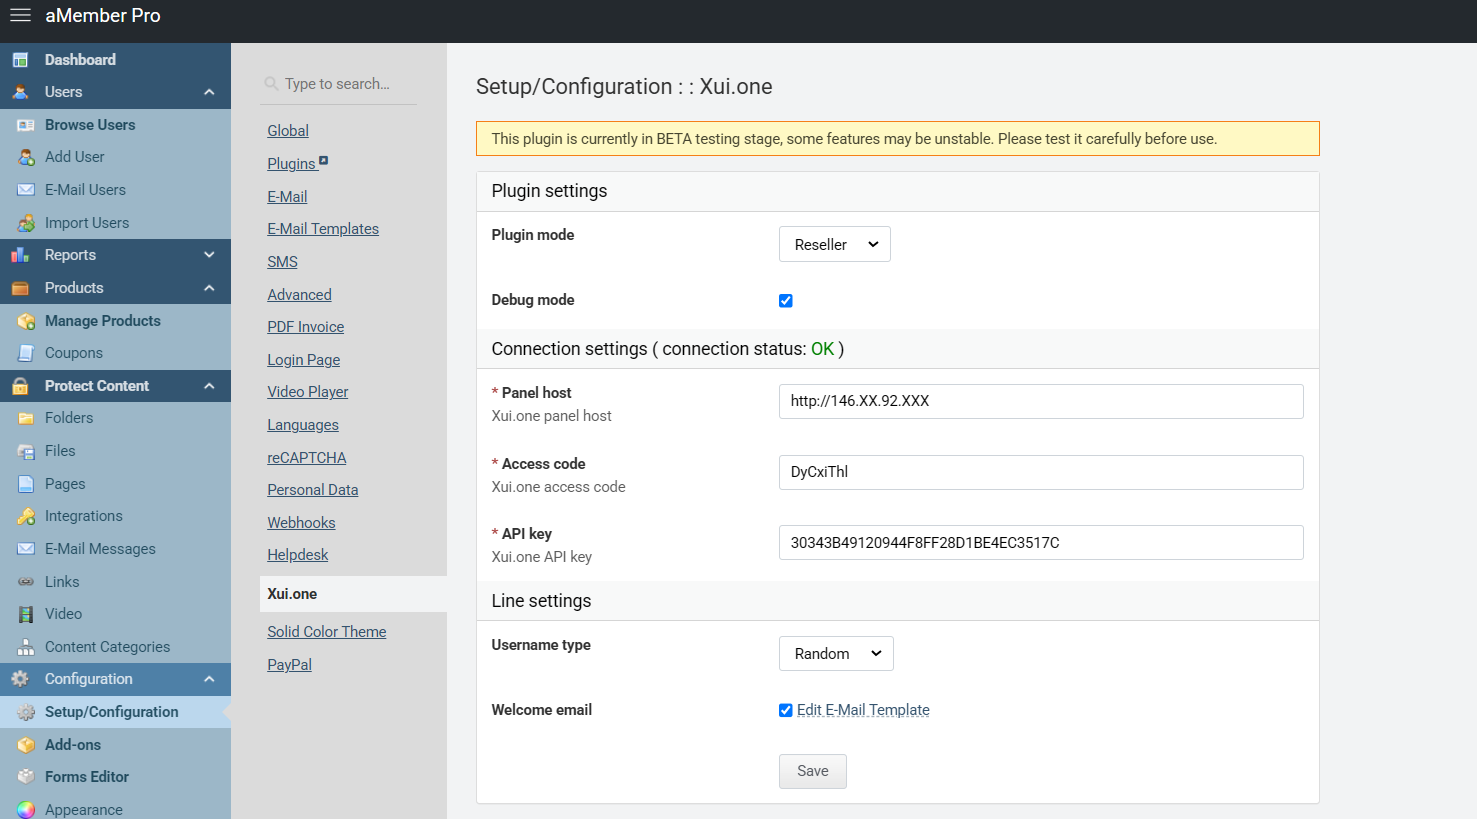
Navigate to Setup/Configuration->Xui One
Fill in the fields:
Plugin mode: Choose if you are owner or reseller in XUI panel.
Debug: Enable only if facing issues, outputs more info in debug log.
Panel host: Host of XUI panel with port (if not 80) and without trailing slash (example: http://example.com:8080 or https://example.com)*
Accesscode: Access code that has reseller OR admin api permissions.
Api key: Reseller OR admin api key.
Username type: Random or Email**
Welcome email: If enabled then client receives welcome email after successful purchase.
Click Save
*Pay attention if your XUI server supports SSL and use http:// or https:// accordingly.
**Username type email is not suggested as XUI doesnt support multiple lines with same username and this could cause issues if client tries to order multiple products.
If provided connection data is correct then XUI panel connection is tested on same page and connection status should show OK.
If you face issues during installation or configuration, then please contact support through tickets.
